How to Create and Customize a Questionnaire Form
Sure, based on the provided transcript, I'll create the documentation for creating a questionnaire using the Agiled app.
---
Creating a Questionnaire Using Agiled Forms
Introduction
Agiled forms offer a versatile way to create questionnaires for your clients, leads, or audience. This guide walks you through the process of setting up a questionnaire in Agiled, allowing you to customize and gather information in an efficient and user-friendly manner.
Creating a New Form
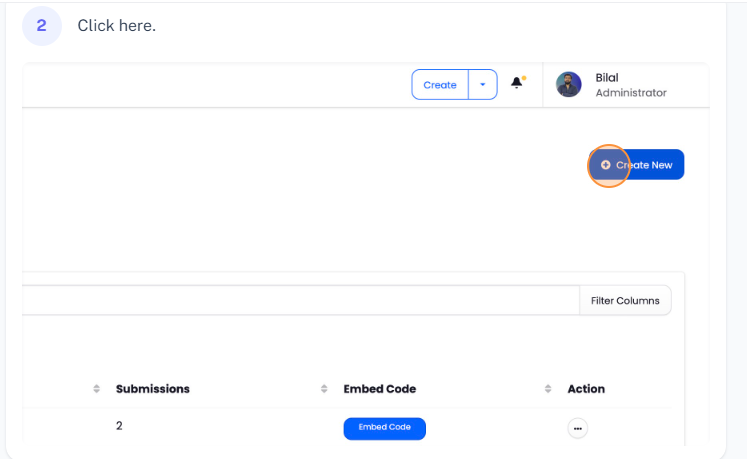
1. Start by clicking on the `Create New` button.
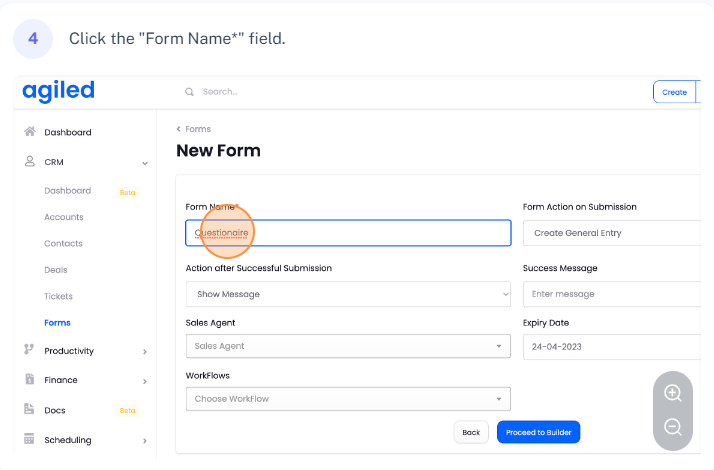
2. Change the name of the form to `Questionnaire`.
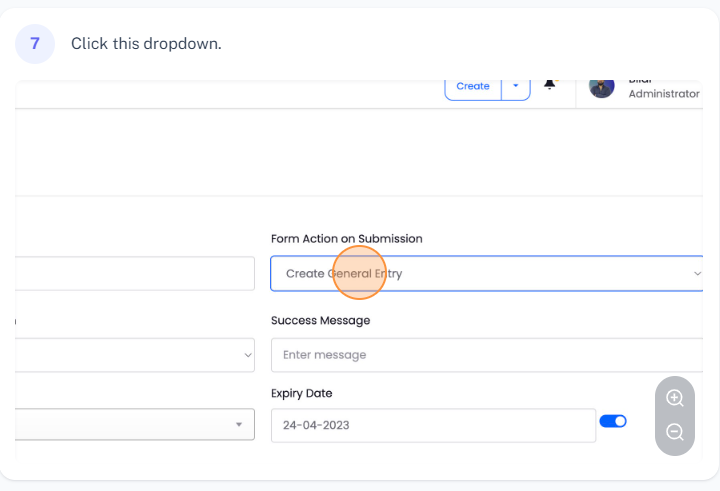
3. Select `General Entry` for the form purpose.
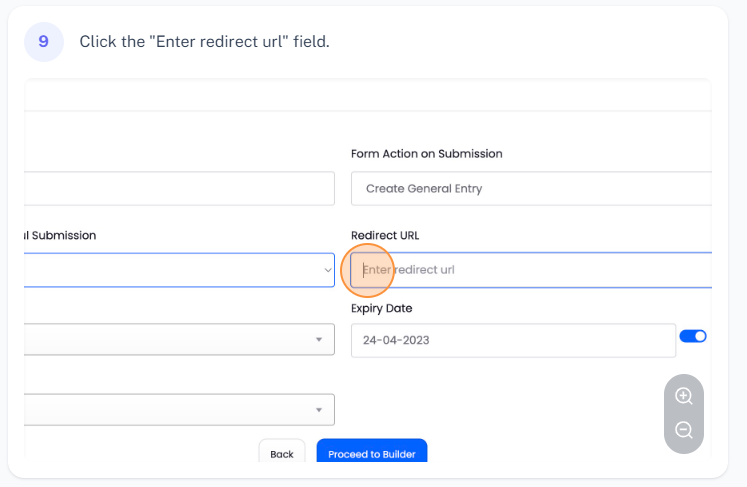
4. Choose a redirection URL where respondents will be redirected after submission.
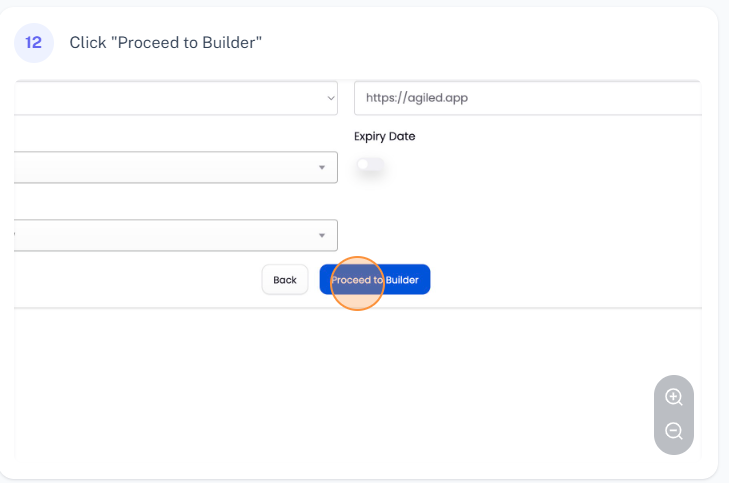
5. Click on `Proceed to Builder`.
Building the Form
Adding a Heading and Text
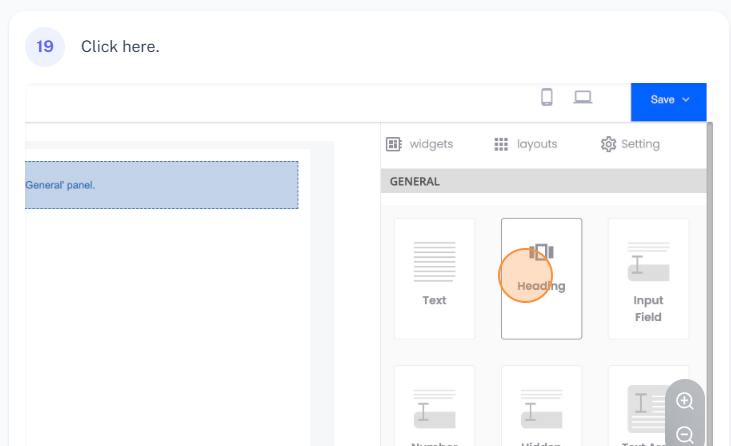
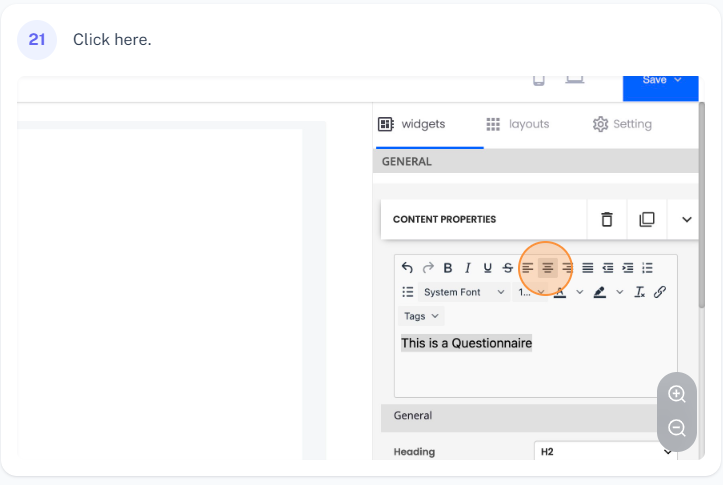
1. Add a heading to the form by selecting the `Heading` option. Customize the heading as per your preference (center alignment, font color, padding, margin, etc.).
2. Add a text widget, prompting users to fill the form. Customize the text (size, alignment, etc.).
Adding Input Fields
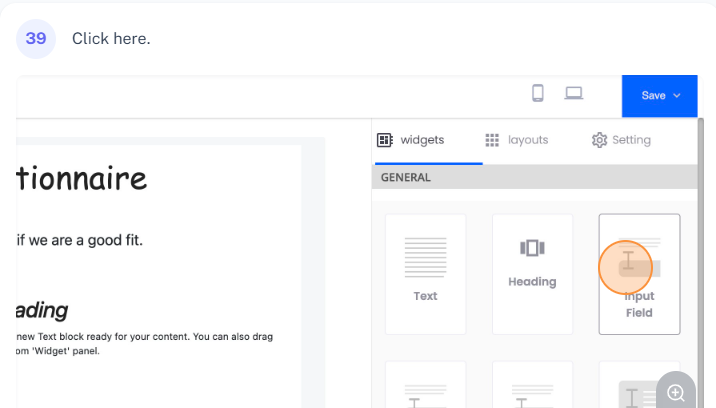
1. Add an input field for `First Name` and `Last Name`.
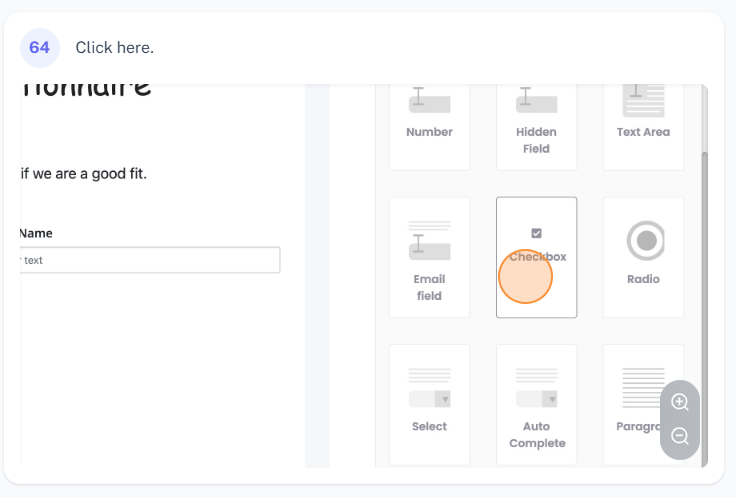
2. Add a checkbox group, providing multiple options for the respondents to select from. Customize the checkbox group as needed.
Adding Text Area and File Upload Field
1. Add a `Text Area` field, prompting users to write a paragraph about themselves.

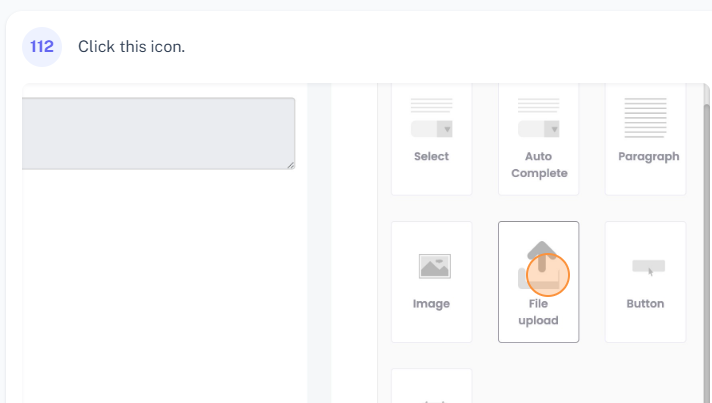
2. Add a `File Upload` field, allowing users to upload any necessary documents.
Adding a Submission Button
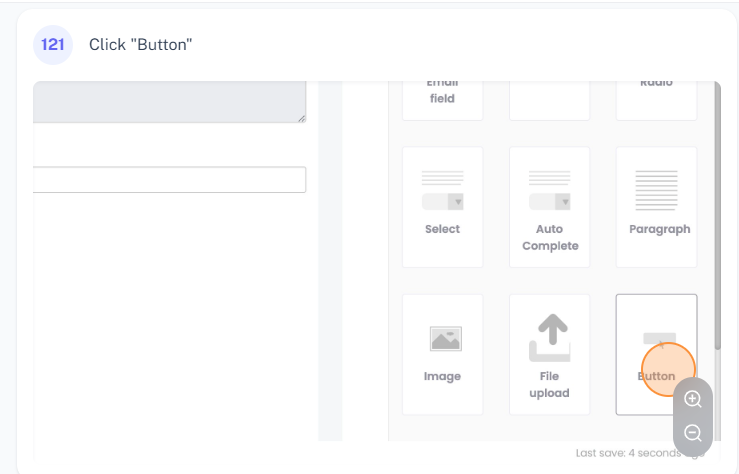
1. Add a `Button` to submit the form. Customize the button's style, alignment, and border style as needed.
Saving and Sharing the Form
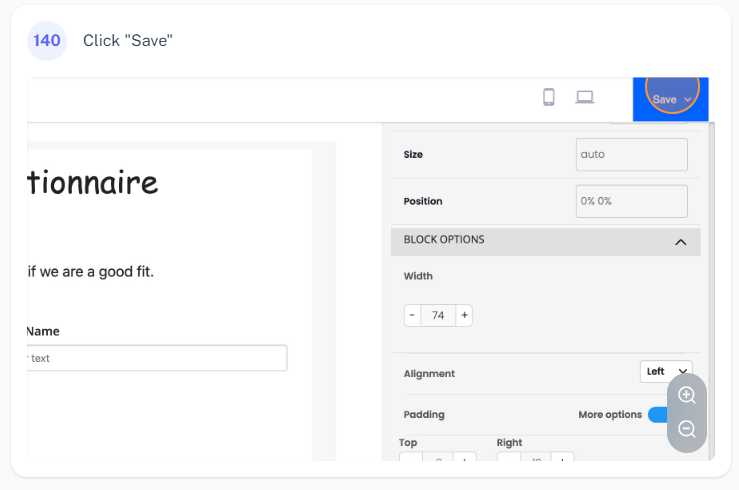
1. Save the questionnaire by clicking on the `Save` button.
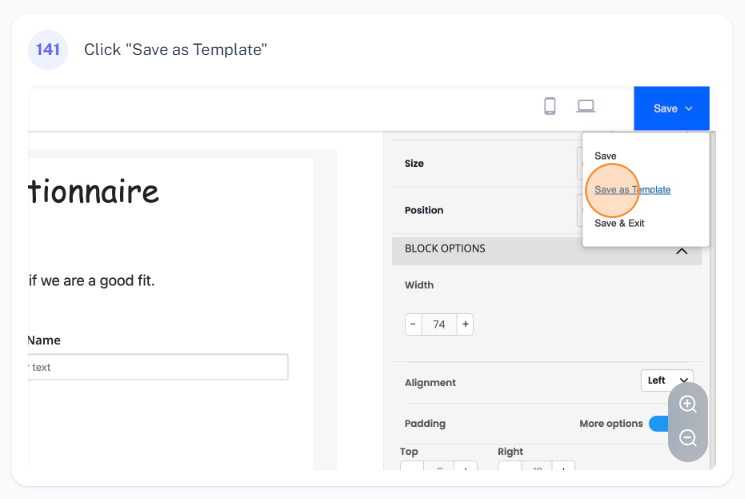
2. To save the questionnaire as a template, click on `Save as Template`.
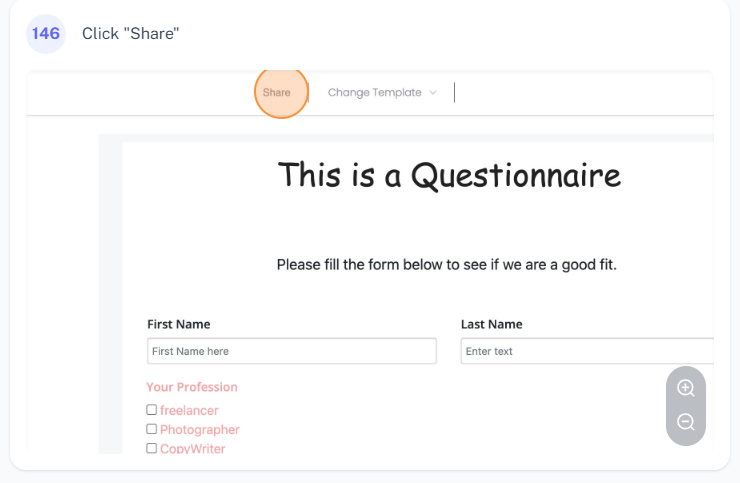
3. To share the form, click on `Share`. Copy the link to share with your audience or copy the embed code to place it on your website.
Checking the Submissions
1. To view form submissions, locate your form and click on `Submissions`.

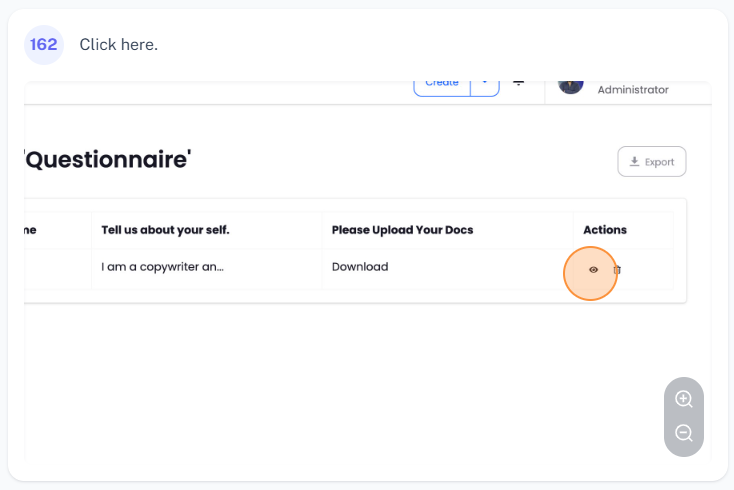
2. To view detailed submissions, click on the `View` button next to each submission.
---
Frequently Asked Questions
Q. Can I create a new client from the form submissions?
A. Yes, when creating a new form, you can choose to create a new client from the form submissions.
Q. Can I map the form fields to CRM?
A. Yes, you can map form fields to your CRM.
Q. How can I save my progress while building the form?
A. The progress is automatically saved. However, it's advisable to click on the `Save` button to ensure your progress is saved.
Q. How can I share the form with my clients?
A. Click on the `Share` button, copy the link and share it with your clients. You can also embed the form on your website by copying the provided embed code.
Q. How can I view the detailed submissions?
A. Click on the `View` button next to each submission to view detailed submissions.
Q. How can I download the file that a visitor uploaded?
A**.** Click on the `Download` button next to the uploaded file in the detailed submission view.