Creating a New Invoice in Agiled
Introduction
Hello everyone! In today's video, we're going to learn how to create a new invoice in Agiled. This process is important for managing and documenting the transactions with your clients.
Steps to Create a New Invoice
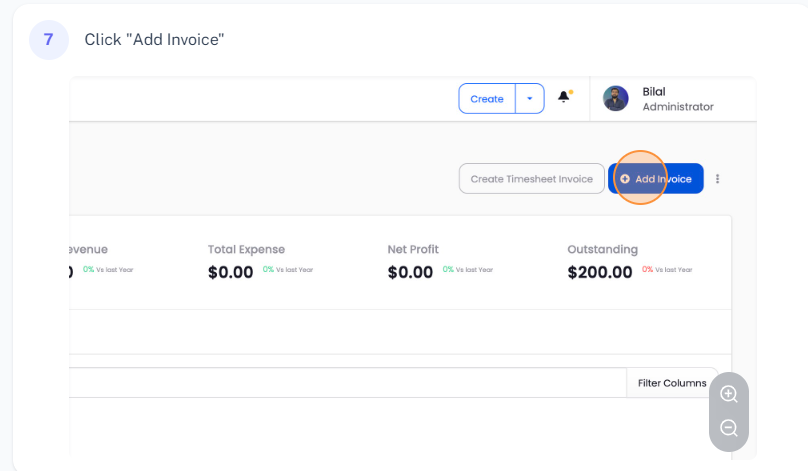
Navigate to Invoices: To start creating an invoice, go to 'Finance' and then to 'Invoices'. On this page, click on the 'Add Invoice' button.
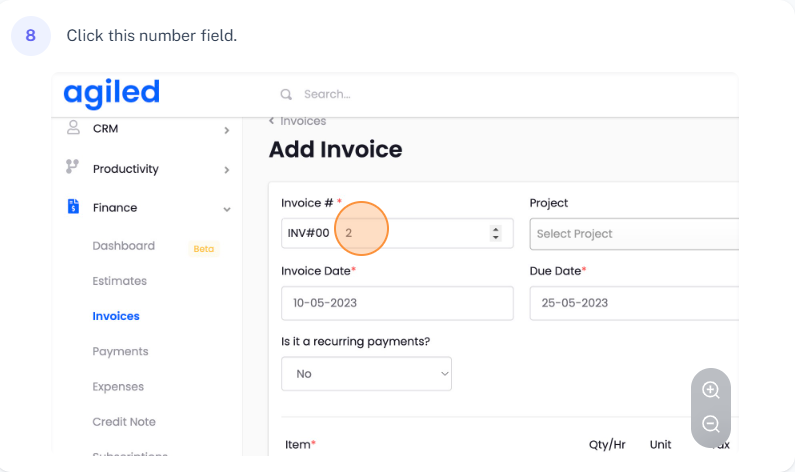
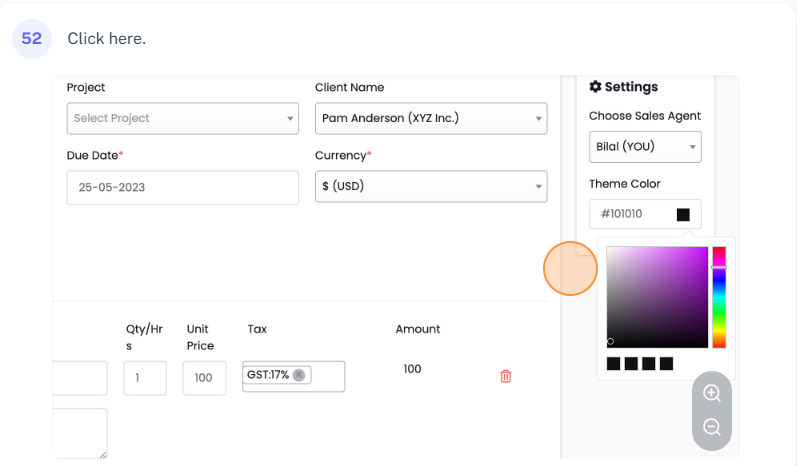
Add Invoice Details: You'll be redirected to the 'Add Invoice' page. Here you can change the invoice number, select a project (if the invoice is project-related), or choose a client. For this tutorial, we'll create an invoice for a client named 'Pam'. Set the invoice date and due date. Agiled allows you to invoice in different currencies, so select the currency you want to use.
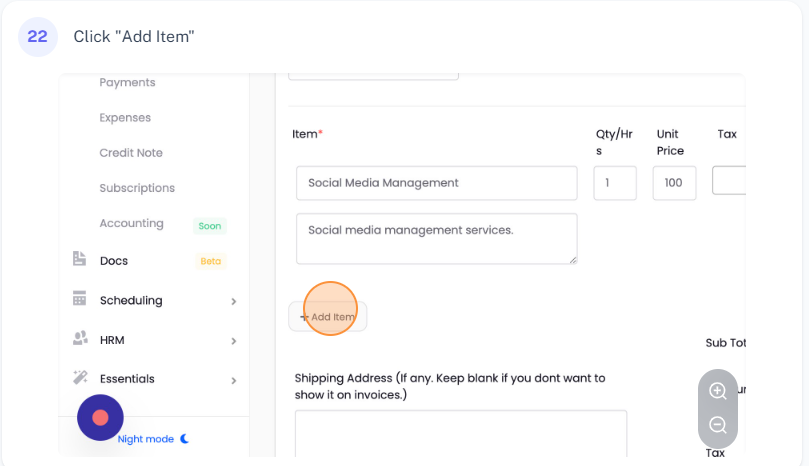
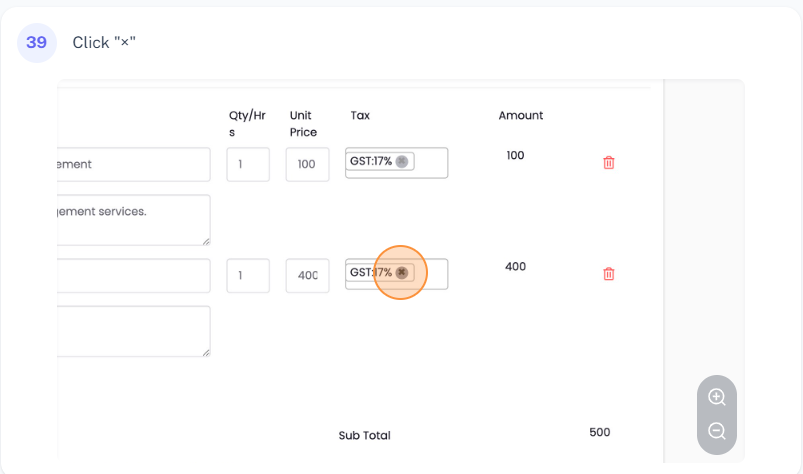
Invoice Items: Now, you can add items to your invoice. These can be products or services that you've already set up in your account. Select them from the list and it will automatically populate the details. Alternatively, you can manually add a new item, such as a 'Setup Fee', set the price, and add a description. To remove an item, simply click the 'Delete' button.
Apply Taxes: If you need to add tax to your invoice, you can choose the tax rates from the drop-down menu. If you haven't set up any tax settings in your Agiled account, you can add a new tax by clicking on the 'Add New Tax' button.
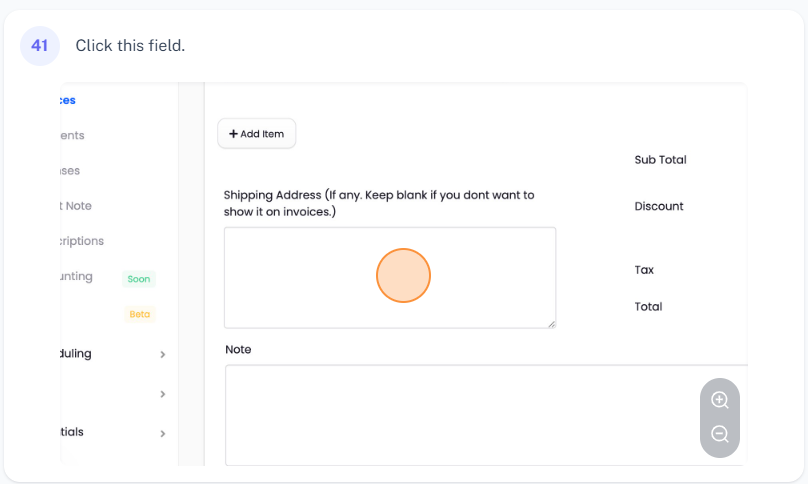
Additional Details: You can add a shipping address for your invoice, but if you are billing for virtual services, you can leave this empty. If you want to add a note to your invoice, such as your bank details, you can add it in the 'Notes' section. You can also change the payment terms for the invoices and assign the invoice to a specific sales agent or teammate.
Invoice Appearance: If you want to change the color theme of the invoice, select a color from the color picker.
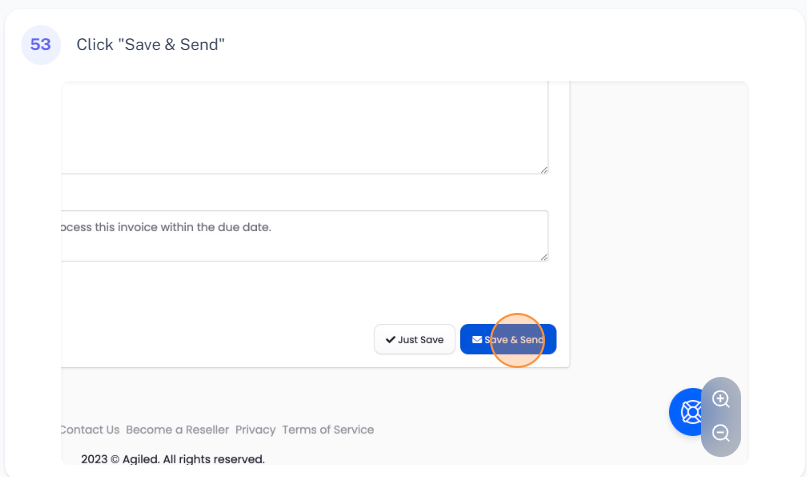
Save and Send Invoice: After creating the invoice, you have two options. You can either just save the invoice, which will not send it to your customer, or save and send the invoice, which will automatically send it to your customer. In this video, we'll choose to 'Save and Send the Invoice'.
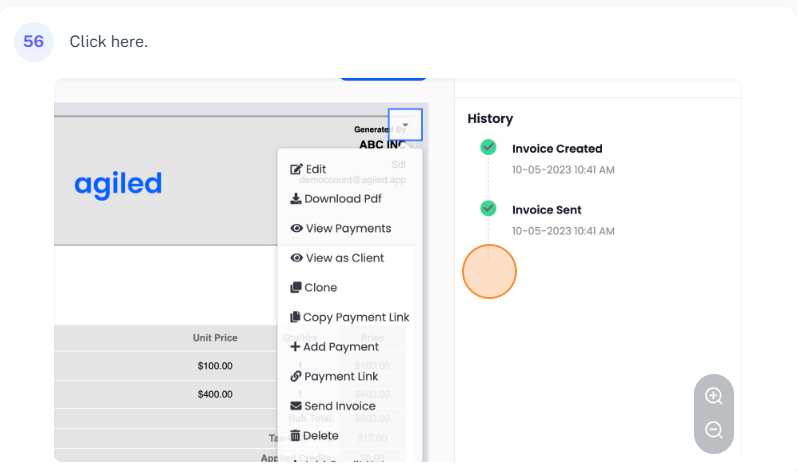
View Invoice Details: After the invoice is saved and sent, you can view its status. For a more detailed view, click on the invoice number. This will take you to the 'View Invoice' page, where you can see the history of the invoice, view it as a client, delete the invoice, resend the invoice, send payment reminders, download a PDF, edit the invoice, and more.
Conclusion
And that's it! That's how you create a new invoice in Agiled. Understanding and mastering this process will make your financial management tasks a lot easier. We will go through all other options in separate videos for invoices. Thanks for watching this tutorial!