Applying a Workflow to a Project in Agiled
Introduction
Workflows can be a game-changer when it comes to project management. They allow you to automate and streamline tasks, making your work more efficient. In this tutorial, we will guide you on how to apply a workflow to a project in Agiled.
Steps to Apply a Workflow to a Project in Agiled
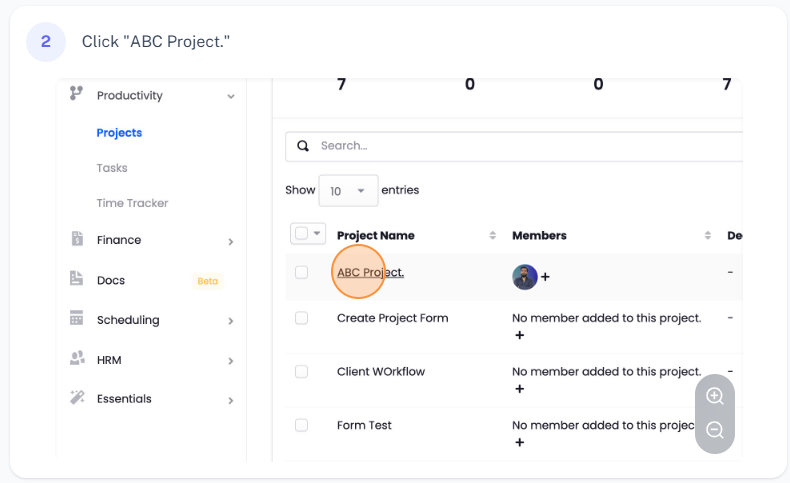
1. **Go to the Project Page**: Begin by navigating to the project's page where you want to apply the workflow.
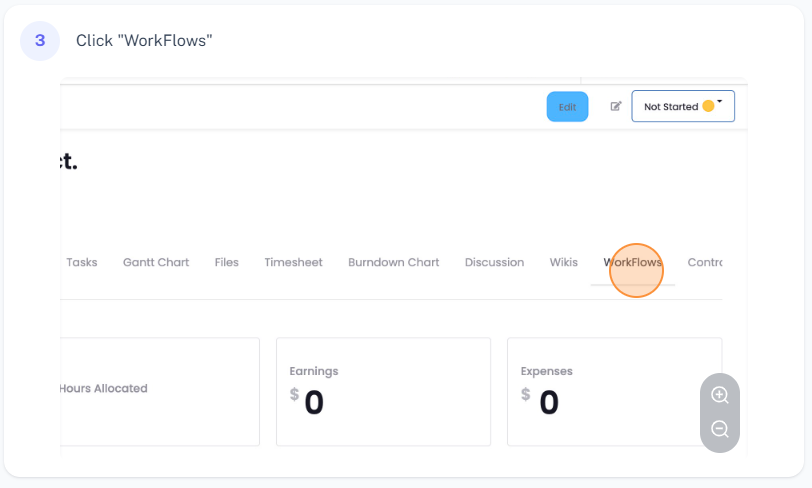
2. **Navigate to Workflows Tab**: On the project's page, find and click on the 'Workflows' tab. If you haven't added any workflow yet, it will show 'No workflow'.
3. **Add a Workflow**: To add a workflow, click on the 'Add Workflow' button. This will present you with a list of workflows to choose from.

4. **Choose and Apply Workflow**: Select the workflow you want to apply to the project. As soon as you apply a workflow to a project, it starts running automatically.
5. **Managing the Workflow**: You can manage the workflow according to your needs. You have the options to pause, delete, or edit it.
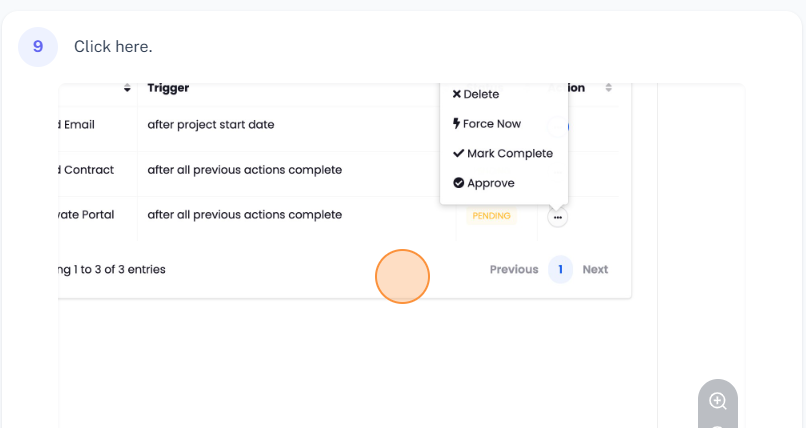
6. **Check Workflow Progress**: You can see the number of remaining actions in the workflow and its status (whether it is complete or not). By clicking on the workflow, you can also view the status of individual actions, their triggers, and more.

7. **Approve or Force Actions**: If an action requires approval, you can approve it directly from the workflow. Additionally, you can force an action to occur immediately, delete it, or mark it as complete.
Conclusion
By applying workflows to your projects in Agiled, you can automate tasks, track progress, and manage actions effectively. This not only saves time but also ensures a smooth and efficient project management process. Thank you for watching this tutorial.