Integrations
Quick Books Integration
Updated April 5, 2026
96 views
Installation
- Please login to your Agiled account by going to https://my.agiled.app/login
- Once logged in, visit settings page from left menu. (https://my.agiled.app/admin/settings)
- Scroll down and visit Integration Settings page. ( https://my.agiled.app/admin/settings/integration-settings)
- Find Quickbooks Integration Box and click on Integrate Now button. (You can directly visit this link too https://my.agiled.app/admin/settings/quickbooks/auth)
- This will take you to the Auth Consent Screen. Please allow Agiled to read your account info and read and create meetings in your account.
- Once you allow Agiled to access your account, your Agiled account will get connected to QuickBooks and you will be taken to QuickBooks Integration Page.
Usage
- Once QuickBooks App is successfully installed in your Agiled account, you will be taken to QuickBooks Integration page that will look like below
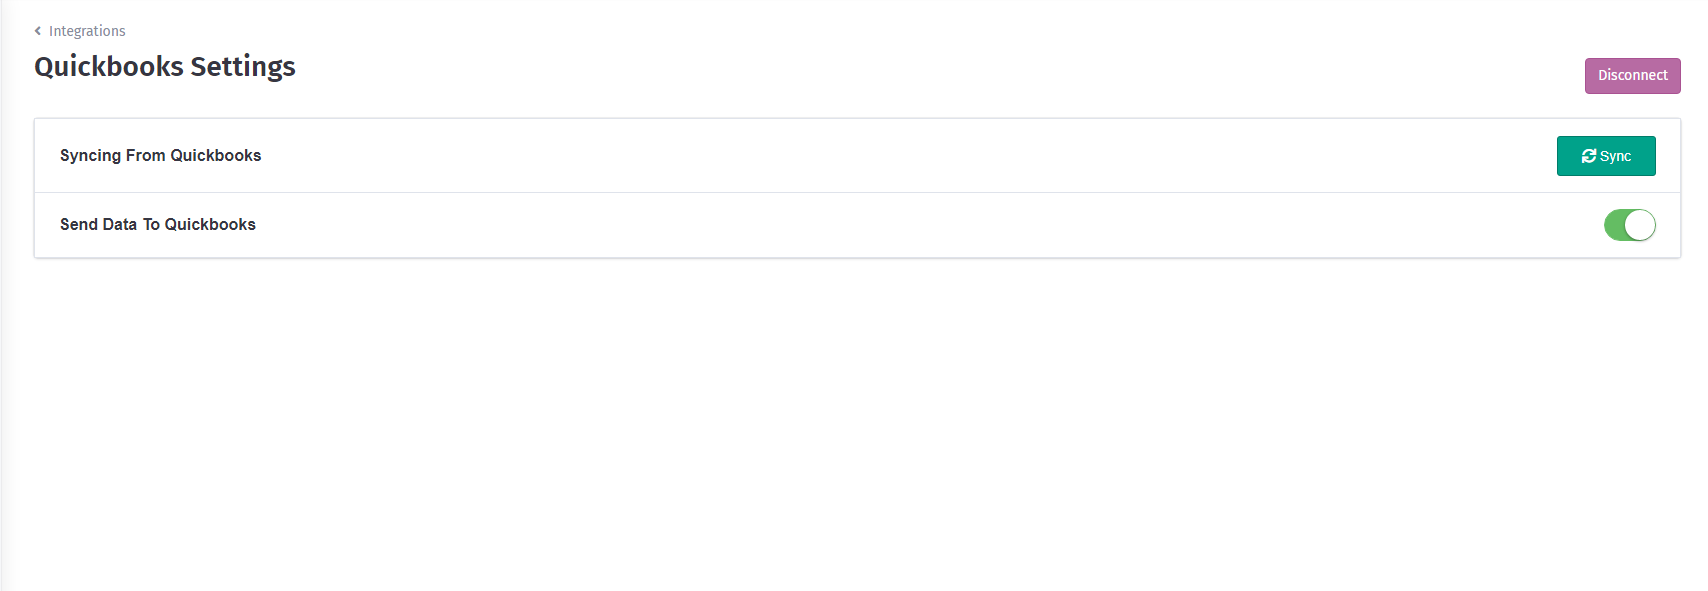
2. To Sync Data from QuickBooks, Click on Sync and choose the data you want to sync. Please note that you must sync Clients before anything else.
3. If you want to send Invoices and Estimates to QuickBooks every time an Invoice/Estimate is created in Agiled, you can check the checkbox stating "Sent Data To QuickBooks ". Please note that Agiled will only sync Invoices/Estimates to QuickBooks that you create for Clients/Contacts synced from QuickBooks.
Uninstallation
To uninstall QuickBooks App from your Agiled account, login to your Agiled account and navigate to Integrations page and click the Disconnect Icon in top right corner of QuickBooks integration box or visit QuickBooks Integration Page and click Disconnect.